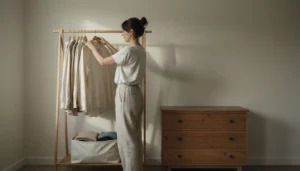
The quote sat on my kitchen counter for nine days. Three thousand one hundred and forty dollars for a reach-in closet and the hall closet, installed, four weeks out. I kept picking it up and putting it down, and on the ninth day I looked at the little drawing stapled to the back and realized I was staring at six rectangles of plywood, three metal rods, and a strip of wood screwed to a wall. That was the afternoon I started pricing DIY closet organization systems as a pile of lumber, because a pile of lumber is what the drawing showed.
Then I built it. One weekend, two sheets of plywood, a rented track saw, and eleven hours I will account for honestly below. What follows is the receipt, the cut list, the tools I needed, and the three things I got wrong. If what you want is the bought version with a warranty and someone else’s hands, my custom closet storage solutions post covers the tiers and the installed price. This one is the lumber.
What the $3,000 quote was actually paying for
The material was the cheap part of it, and finding that out is what pushed me over.
The system in that proposal was 3/4 inch melamine-faced particleboard, which is the same sheet good stacked twelve feet high at the back of the home center six minutes from my house. What I was buying was a design visit, a shop that cuts to the thousandth, a truck, two installers for a morning, edges banded on a machine instead of with an iron, soft-close drawer slides, and a warranty. Also, and this is the part worth the money for a lot of people, somebody else owns the mistakes.
I decided I could live without drawers. That one choice took about a third of the quote off the table before I bought anything, because drawers are where the hours and the hardware live. Hiring help is a real option too, just a different one; a session with professional closet organizers buys decisions, not shelves.
Before any of it, empty the closet. All of it, on the bed, the way what to declutter first lays it out. Building storage around clothes you have not looked at in three years is how you end up needing a bigger closet.
What DIY closet organization systems actually cost in materials
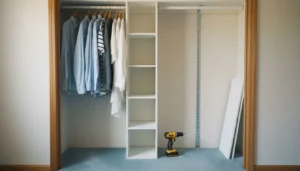
My closet is a 72 inch reach-in, 24 inches deep, under a standard 8 foot ceiling, which is to say nothing special. This is what left the store with me.
Two sheets of 3/4 inch prefinished maple plywood at $86 each. A 1×4 pine board for cleats, $11. Three steel rods with six sockets, $34. A roll of iron-on maple edge banding, $19. Cabinet screws and pocket screws, $22. Structural screws for the wall, $9. That is $267. Track saw rental was $58 for 24 hours, so $325 out the door against a $3,140 quote.
The line that caught me was the small one. Edge banding, screws, and anchors came to $50, and I had budgeted nothing for them. I underestimate the boring middle of a project, and this time it showed up in fastener form.
The arithmetic gets less flattering from here. It took me eleven hours across Saturday and Sunday, and I am not fast. Price your own time at even $25 an hour and the gap narrows to something like $600. The savings are real. They are smaller than the receipt makes them look, and if you hate this kind of work, they are not savings at all.
The plywood decision behind most DIY closet organization systems
You have three realistic choices, and people get loud about which one is right.
Melamine particleboard is cheapest, around $52 a sheet, and it is what the expensive quote was made of. It comes finished, it wipes clean, and it does two things badly: it does not hold a screw near a cut edge, and it sags. MDF is smoother and heavier and sags worse. Prefinished plywood costs more, holds a screw anywhere, and skipped an entire finishing weekend for me. That is why I paid the $34 difference per sheet without much agonizing.
The rule that matters more than the material is span. Any 3/4 inch shelf carrying folded sweaters starts to bow past about 32 inches of unsupported width. My tower sits dead center for that reason, turning one 72 inch span into two 27 inch bays. Write that number on your hand before you buy anything. Past it, a loaded shelf develops the slow downward curve carpenters call a smile, and you cannot unsee it once you know.
Check two things on the sheet itself. Composite wood sold in the US has to meet formaldehyde emission limits, and compliant panels carry a label saying so, which I care about in a room where I sleep with the door closed; the EPA formaldehyde emission standards for composite wood products explain what that stamp is claiming. And the grade letters printed on plywood are not decoration, they describe the face veneer and the core; APA, the engineered wood association, is where I finally understood what I was reading. Buy the good face and let the ugly side go against the wall.
The tools you need, and the two I rented
Less than you think, and I say that as someone who owned almost none of it in March.
Owned already: a drill, a tape measure, a 4 foot level, a stud finder, a block plane I had never used, and a clothes iron for the edge banding. Rented: a track saw, $58 for the day. Borrowed: a pocket hole jig from my neighbor, which is the tool that makes a shelf-to-side joint feel like furniture instead of a bookcase from a box.
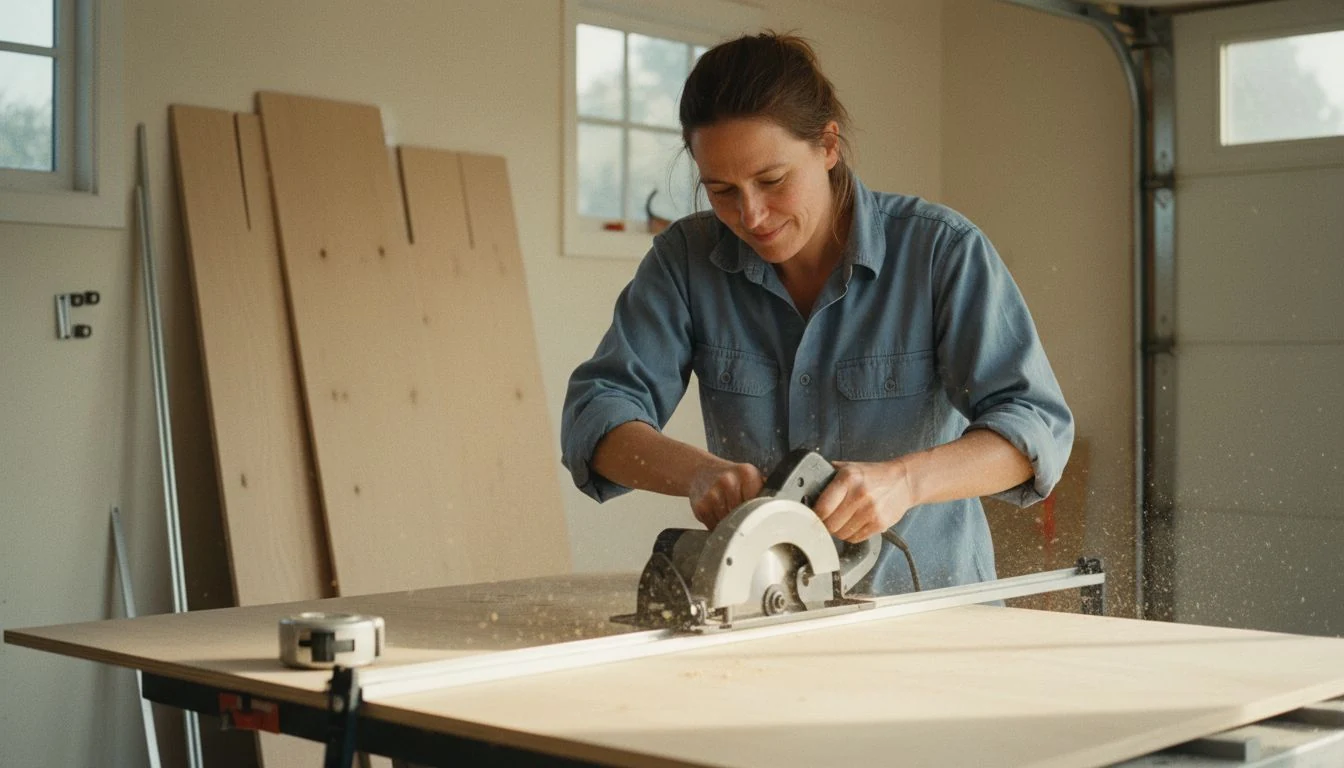
You can skip the track saw. Most home centers will rip your sheets to width for a dollar or two a cut, and a sheet ripped to 15 3/4 inches at the store is far easier to carry, cut, and love than a full 4×8. I rented anyway because I wanted control over the second cut. On a layout this simple I would let the store do all of it next time and keep the $58.
What I would not skip is the stud finder and the level. Everything structural about this build happens in those two tools.
The cleat is the whole project
I did not work this out until I was standing in the closet with a pencil in my teeth: the shelves are not holding much of anything. A strip of 1×4 screwed through drywall into studs is holding everything, and the plywood just sits on it.
The sequence is find the studs, mark them, run a level line, and drive 3 inch structural screws through the cleat into at least three of them. Leave the plastic sleeves in the bag they came in. A rod loaded with winter coats pulls out and down at the same time, and drywall on its own will not hold that for a season.
Then the humbling part. Walls are not square and rooms are not rectangles. Mine measured 72 inches at the ceiling and 71 1/4 at the floor, which is normal, and which I did not check until after I had cut two shelves. Measure the opening at the top, the middle, and the floor, cut to the smallest number, and let a shadow gap live at the back. You will not see it once the clothes are hanging. Where those shelves and rods should sit for the way you actually get dressed is a separate question, and walk in closet organization covers that zoning better than I could squeeze in here.
Grab the free printable: my one-page Closet Build Cut Sheet, with the three places to measure, the 32 inch span rule, the stud-and-cleat checklist, and a blank cut list to fill in at the store. Get the free cut sheet →
The weekend, hour by hour
Saturday morning went to emptying and measuring, about two hours, most of it on a step stool arguing with a tape measure. Then the store, ninety minutes, which ran long because prefinished maple was two aisles from where a very confident man told me it was.
Saturday afternoon was cutting, four hours, and it was the only part that felt like real work. Sunday morning was edge banding and assembly, three hours, and edge banding turns out to be oddly meditative once you stop rushing the iron. Sunday afternoon was the install, two hours. The install takes forty minutes or it takes forever, and the difference is whether your cleats are level.
Mine were level. The tower went in on the first try and I sat on the closet floor and looked at it for a while, which I recommend.
When DIY closet organization systems are the wrong call
Three situations, and I would have been wrong to build in any of them.
If you rent, most of this is off the table. Cleats mean holes in studs, and that is a security deposit conversation nobody enjoys. The tension rods and no-drill approaches in small closet organization ideas get further in a rental than a saw does.
If you want drawers, buy the system. Drawer boxes and slides are where this stops being cheap and starts being a hobby, and the first drawer you build badly will annoy you every morning for a decade.
And if the problem is square footage rather than layout, no build fixes it. Four people and two closets is a math problem. Skilled carpentry does not invent cubic feet, and I would rather you know that before you spend a Saturday finding out.
The cut list, and what each piece cost
This is the sheet I wish someone had handed me at the store. It is sized for a 72 inch wide, 24 inch deep reach-in with a center tower, double hanging on the left and long hanging on the right. Adjust the bay widths to your own wall and keep every shelf under 32 inches.
| Part | Qty | Cut size | Material | Cost |
|---|---|---|---|---|
| Tower sides | 2 | 15 3/4 x 76 in | 3/4 in prefinished maple ply | Sheet 1, $86 |
| Tower shelves | 5 | 15 3/4 x 14 1/2 in | Offcuts from sheet 1 | Included |
| Bay shelves | 2 | 15 3/4 x 27 1/4 in | 3/4 in prefinished maple ply | Sheet 2, $86 |
| Wall cleats | 3 | 3/4 x 3 1/2 x 27 1/4 in | 1×4 pine, into studs | $11 |
| Hanging rods | 3 | 27 1/4 in, cut with a hacksaw | 1 5/16 in steel, 6 sockets | $34 |
| Edge banding | 25 ft | 7/8 in, iron-on | Maple, pre-glued | $19 |
| Fasteners | Box | 1 1/4 pocket, 2 1/2 cabinet | Coarse thread | $22 |
| Wall screws | 12 | 3 in, into framing | Structural, no anchors | $9 |
Three mistakes I made building this
- I trusted the tape instead of the wall. I measured the opening once, at the top, and cut both bay shelves to 27 3/4. The floor was 3/4 of an inch narrower. One shelf went in fine and the other would not drop past halfway, and I spent forty minutes with a block plane fixing something one extra measurement would have prevented.
- I bought the cheap edge banding. The bargain roll lifted at the corners within two humid weeks. I rebought pre-glued maple at $19, ran the iron hotter and slower, and pressed each strip with a wood block instead of my thumb. It has not moved since.
- I hung the lower rod at the standard height. Forty-one inches off the deck is the number in the diagrams, and it left the hems of half my tops resting on the shelf below. I moved it down three inches, lost nothing, and stopped ironing wrinkles I was creating myself.
Frequently asked questions
Are DIY closet organization systems actually cheaper than a custom quote?
Mine was $267 in materials plus $58 of tool rental against a $3,140 installed quote, so yes, by a wide margin on paper. What you weigh against that is the eleven hours it took me and the fact that I owned every mistake. Price your weekend at $25 an hour and the real gap is closer to $600, which is still worth having. Skipping drawers is what moved the number most.
What material should I use for a DIY closet system?
Prefinished 3/4 inch plywood if you can stretch to it, because it holds a screw near a cut edge and needs no finishing weekend. Melamine particleboard at around $52 a sheet is what most bought systems are made of and it works fine, as long as no shelf spans more than about 32 inches without support. Whatever you pick, look for the formaldehyde compliance label, since a closet is a small sealed room.
Do I need a track saw to build a closet system?
No. Have the store rip both sheets to 15 3/4 inches wide and you can finish everything with a circular saw and a straightedge, or a jigsaw and patience. I rented a track saw for $58 because I wanted cleaner cross cuts, and on a layout this simple I would skip it next time and put the money into better edge banding.
It has been four months. The tower has not moved, one shelf carries more sweaters than it was designed for and shows no bow, and the closet still looks the way it did the day I finished, which I cannot say about any storage I have ever bought. The whole project came down to a strip of pine screwed into three studs and a decision to stop at six rectangles. If you are pricing this out, go measure your opening in three places tonight, write the smallest number on your hand, and find out what a sheet of plywood costs where you live.
Get my free Home Reset Planner
The calm, room-by-room planner I use to reset my whole home without the overwhelm. Join the newsletter and I’ll send it straight to your inbox.
No spam, ever. Unsubscribe anytime. — Lena
Keep reading — more on Closet & Wardrobe
How to Store Summer Clothes: My Fall Closet Swap Routine
The Coat Closet Nobody Fixes Until It’s Already Cold
Custom Closet Storage Solutions: What They Really Cost (and When a Kit Wins)